5 tips - How to make the most beautiful wave photos
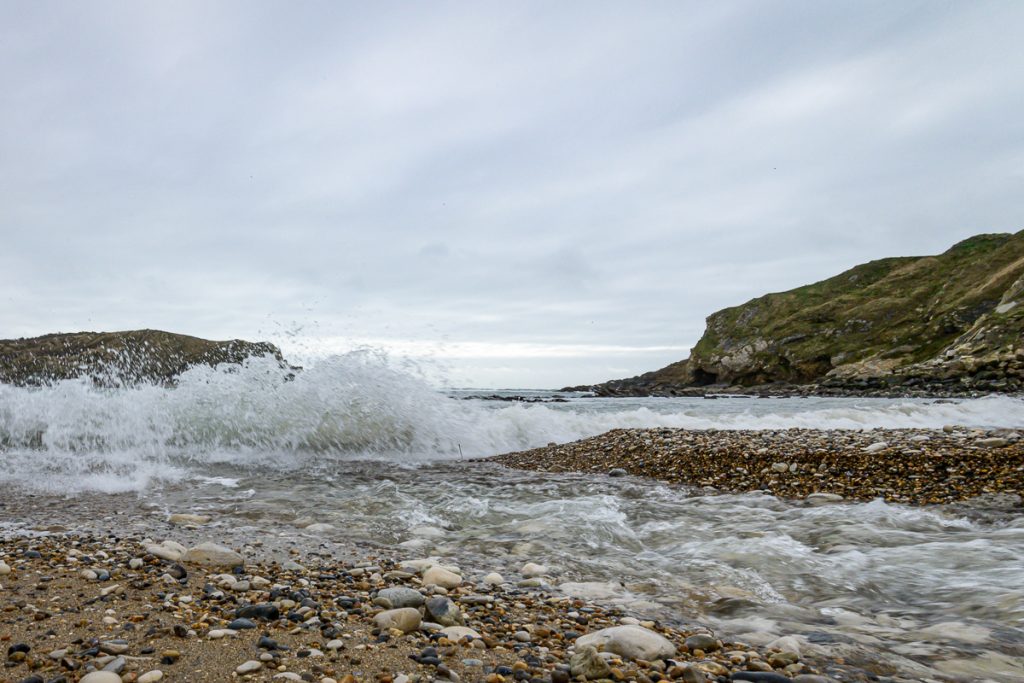
Dramatically high or slowly and peaceful – waves touch us. Taking pictures of waves is not only fun, but good photos bring out exactly these emotions and let us hear the sound of the sea again. Because “Seeing and clicking” often doesn’t do it, I have put together my 5 best tips for good wave photos.
Tip 1: Get as close as possible to the waves - Wellies
Choose your location and the perspective consciously. Waves are more dramatic when you are close, be it from a surfboard, boat or pier or directly in the water.
For the latter, I recently bought myself wellies, an equipment that I didn’t want to miss any longer on my trips to the coast. And because I’m a woman, it allowed them to be sparkling. I even take them on my South West Coast Path walks. In the water, it feels as if the waves were going through the rubber layer with all their might.
Wellies also allow you to go close even if you don’t want to stand directly in the water. As you know, every 7th wave is particularly high and strong and conquers the beach much more than its sisters before it. With wellies you stay dry in it. Even the „amateur photographer“ the world’s oldest consumer weekly photographic magazine regards wellies as essential gear for landscape photography.
Water level
Close to it means also down to the water level. A rock, hit by the waves on which you can lay down, may just be good. In the summer, directly kneeling or sitting in the water, often gives the best perspective. Your camera can cope with a few drops of water don’t worry. However, you need a waterproof case from a surfboard or for other more adventurous perspectives. If necessary, you have the zoom, to select the section as if you had been close to it.
Tip 2: Play with the shutter speed
Exposure or shutter speed, is the time in which your camera lets light fall on the sensor, recording the image. You can set the shutter speed, if you choose the shutter priority (Tv on Canon, S on Nikon). For example, you set it to 1/1000s and the camera automatically decides which aperture is needed, so that enough light falls on the sensor.
Short exposure
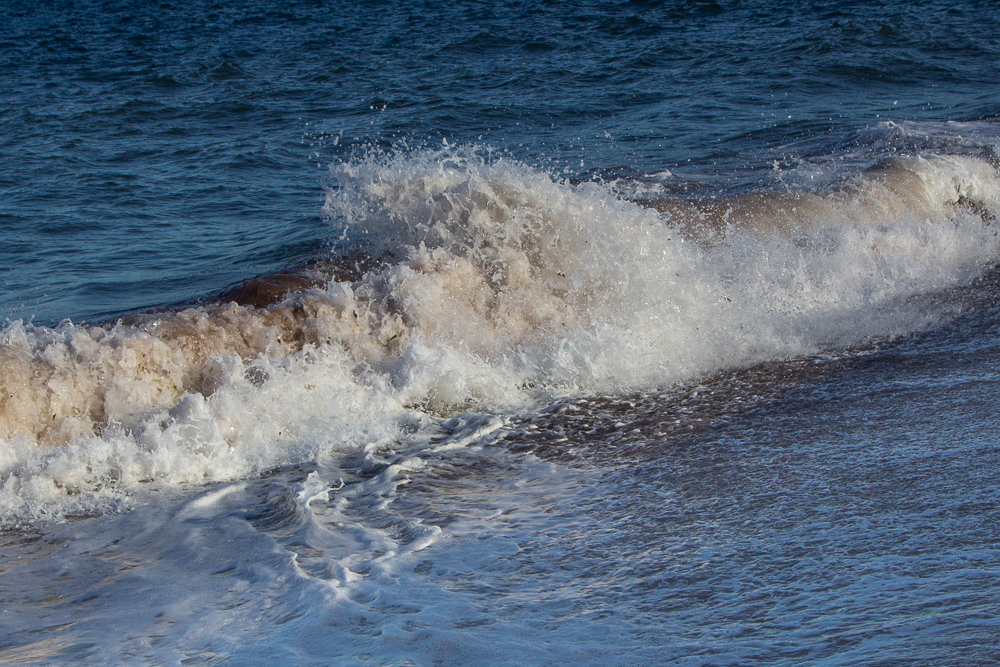
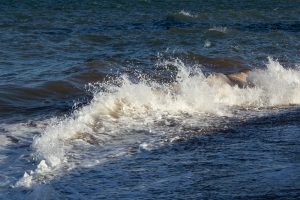
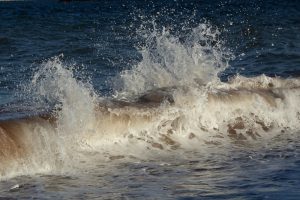
You set short exposure or shutter speeds, if you want to freeze fast waves in their movement. I used 1/1000s or 1/1250s for the waves with the rainbow tail, that I discovered while looking back on my walk from Magwan Porth to Newquay in Cornwall in February. Don’t be afraid to move your ISO value up to freeze your wave, if you shoot in low light.
I was very excited about showing them to at least 5 hikers, who had only looked forward. By the way, these waves are called “White Horses” in Cornwall if they have a white tail and I named my rainbow waves “Unicorn Horses”. However, such an unscheduled photo shooting can ever thwart a walk plan. This time I had to take a shortcut to be on time on the beach to take pictures of the sunset in Newquay and missed Trevelgue Head.
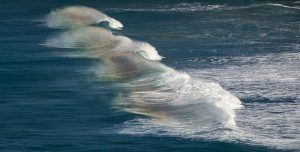
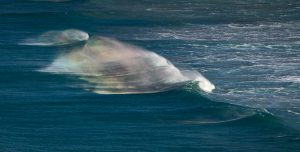
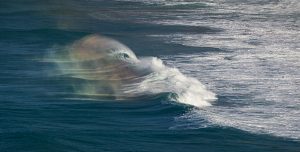
Also, to capture waves just before they break, you need short exposure times.
Long exposure
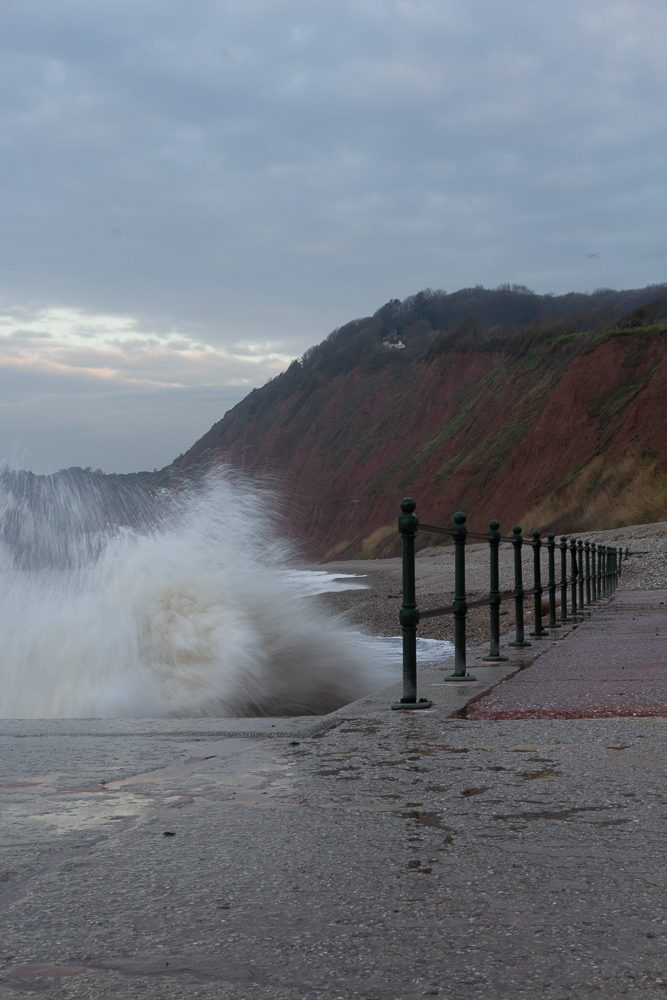
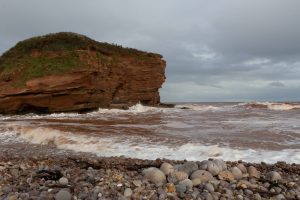
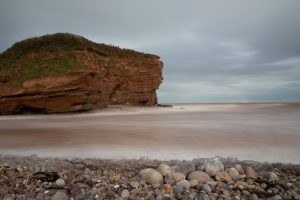
You set long exposure or shutter speeds on you camera to let the power and movement of the waves play along. I chose 1/8 s for the wave beating the beach stairs in Sidmouth. They loose shape a bit, but not the power. With even longer exposure times, you can iron the waves smooth, so to speak, and still feel movement in the picture, as you can see below. For this you need a gray or neutral density (ND-) filter in daylight.
Comparison of short and long exposure in wave photos:
Tip 3: Follow the wave with your camera and take as many photos as you can
For my “Unicorn Horses” I moved the camera with the wave handheld. Thereby, I try to capture the perfect moment. Try to predict when and where the wave is going to break and when it has the most spray. Nevertheless, I have the camera set to burst and together with a very short exposure time, I have frozen fractions of seconds perfectly.
Tip 4: Include an object in your picture
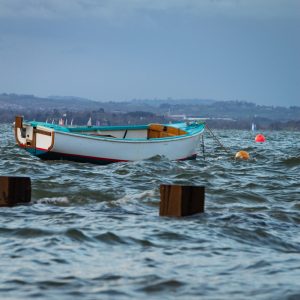
Take, for example gulls, boats, shells, cliffs or beach in the picture to better emphasize the size and type of waves. It is not always just about big waves. In my picture with the boat I wanted to make the swings of the boat visible that were caused by the turbulent sea. Without a boat, this type of waves would have been hard to capture.
Tip 5: Take your time and immerse yourself in the waves
Look closely and go with the waves. How do they rock boats and gulls? Are they almost tearing you over? Are they typical surfing waves? Do they travel as a long band or as individuals to the beach? You will discover phenomena that inspire you. For example, high waves, caused by the fact that a wave bounced back from a quay wall or a rock meets the next wave rolling. The variety of shapes and the height of such waves let me go home with hundreds of amazing wave photos. Each is unique and meditative despite its drama.

Check the 500px Blog on wave photography, if you need even more tips.


