Many of my landscape and city photos were taken in the special light of the golden and blue hour. Golden and blue hour are the most beautiful time of the day for me. If you also want to take photos around this time, you might consider a few things.
Blue Hour - Exact Time
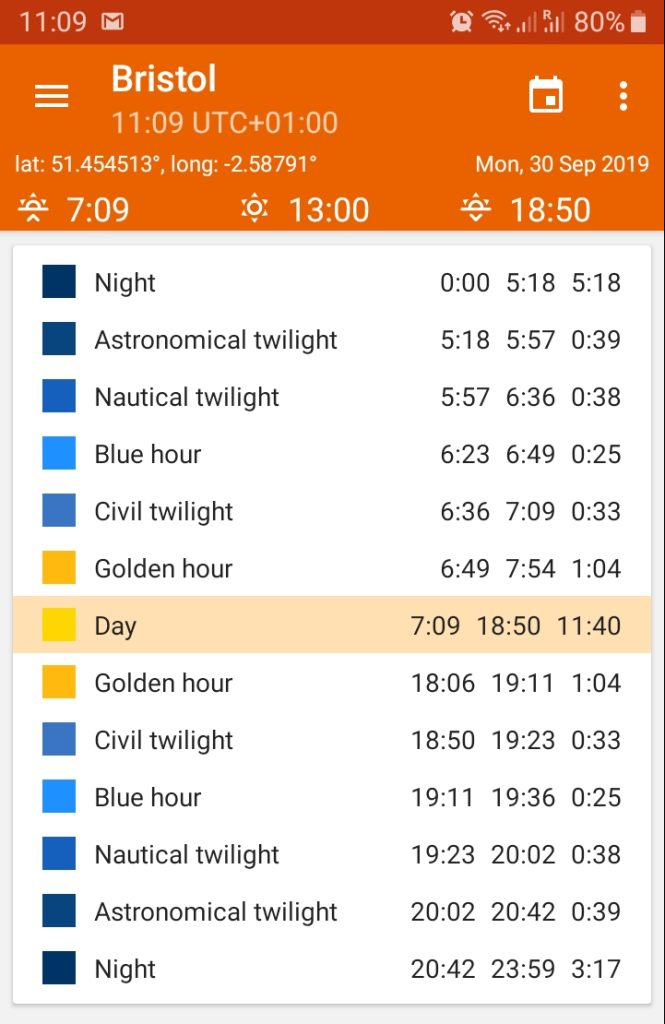
The Golden Hour App has often served me well to know the exact time of the golden and blue hour in advance. With it you can not only plan when you are going to take pictures in the next days. Likewise, especially when planning photos for your upcoming holidays, you can use the app to arrange with your travel companion which evening you will take the picnic to the beach and at what time.
The app tells me exactly that if today here in Bristol the sunrise is at 7:09 am, then the blue hour is from 6:23 am to 6:49 am. Unfortunately, that’s much shorter than one hour, namely only 26 minutes. The golden hour, on the other hand, is actually longer than one hour and lasts today from 6:49 to 7:54, that is, half an hour before sunrise until almost an hour after sunrise.
And the other way round, of course, there is the evening. There the golden hour begins about one hour before sunset and ends half an hour after sunset. Then the rather short blue hour begins, in which everything appears bathed in an incredible blue.
Watch the play of light
Light in the course of time - golden vs. blue hour
Around the time of sunrise and sunset the light changes by the minute. The transition from golden to blue hour and night is smooth. Light is also completely different depending on the direction you look at. You will certainly enjoy playing with the different light moods once you have observed them more closely.
You might take pictures at different times. Often there is no such thing as the “perfect” moment. Unless, of course, you have a very specific image in your mind.
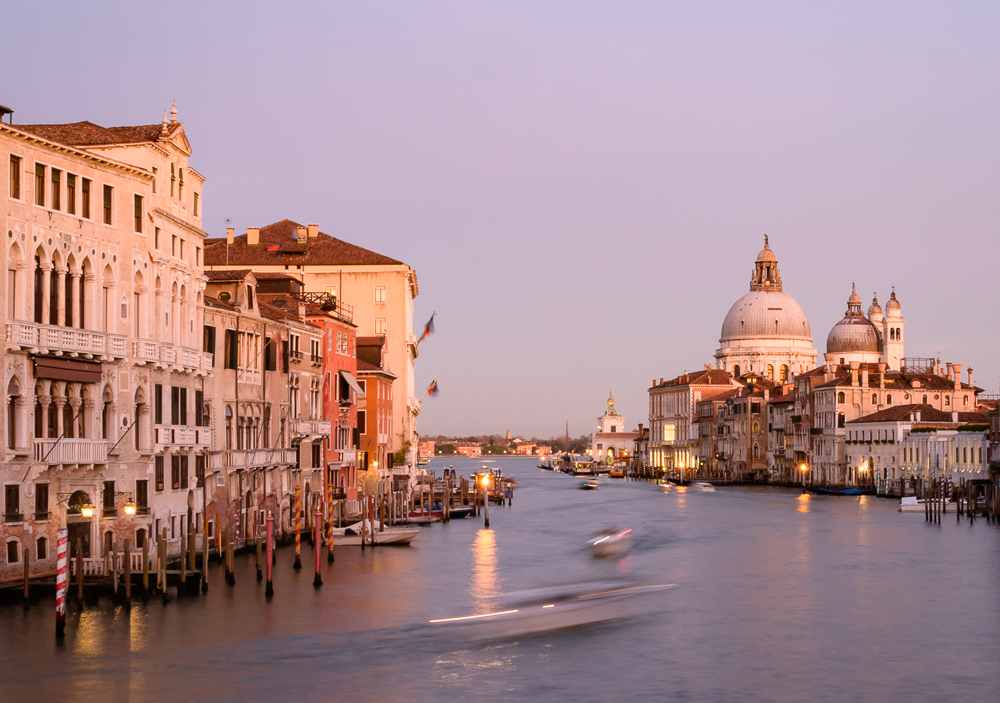
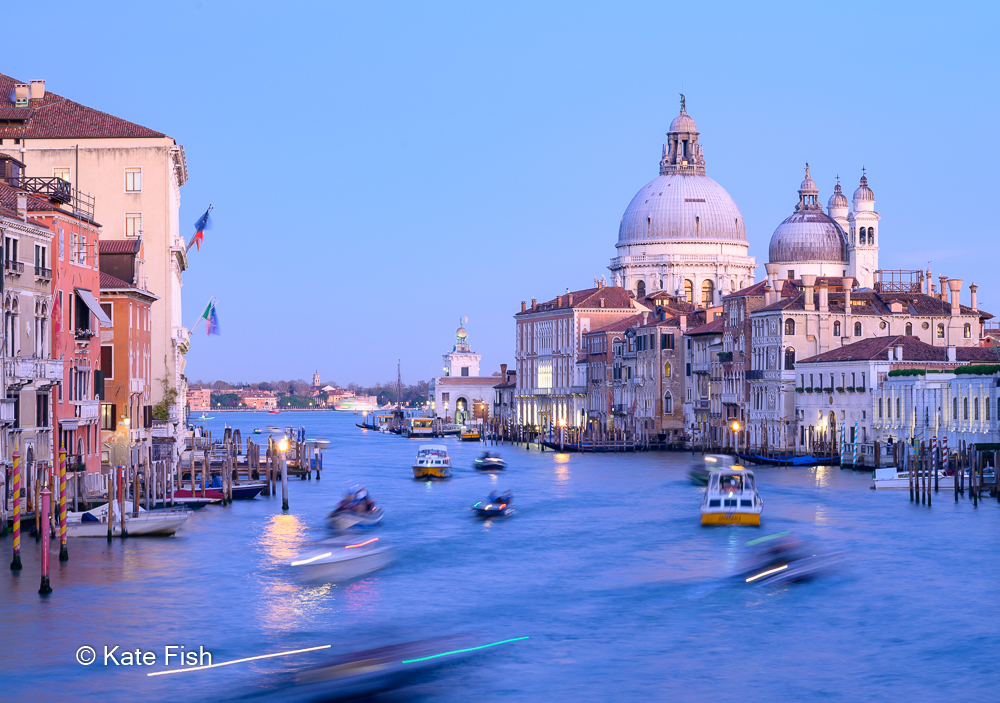
I have put two pictures here to the right. Please have a look at the them. With these two photos of the Canale Grande at the golden and blue hour it is at least for me difficult to determine a favourite. They are both great. Aren’t they?
Light depending on the direction you look
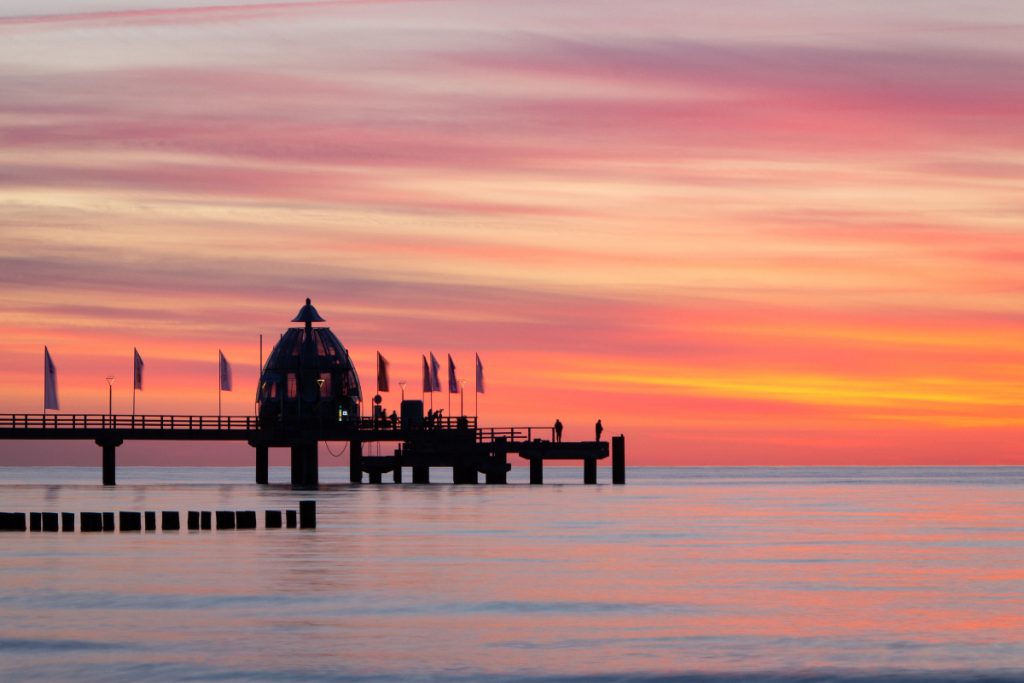
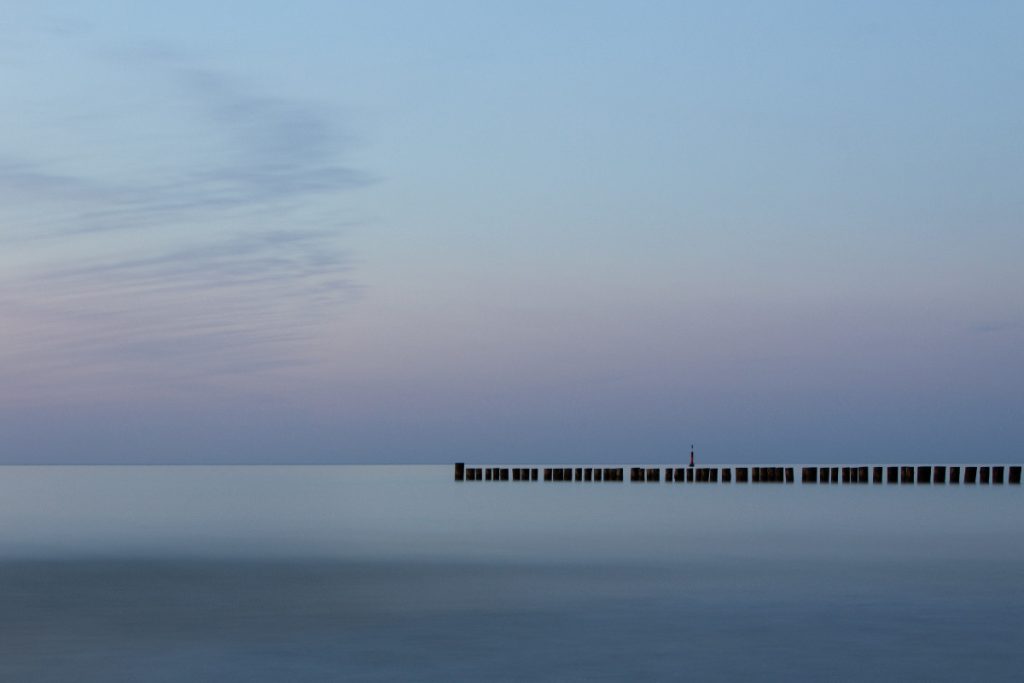
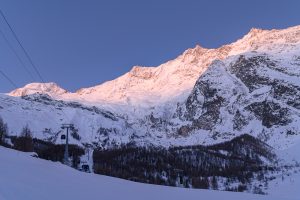
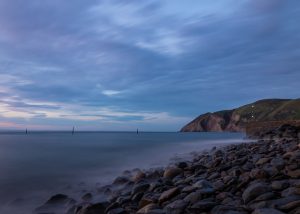
Here is an example from the Baltic Sea, where I was in Zingst for the environmental photo festival. Germany’s biggest photo festival is held there every year in May. In the evening I was able to photograph a beautiful red-golden sky from a certain spot on the beach towards the west. When I turned eastwards at the same spot, everything was already bathed into a mystical blue/purple.
Like taking pictures of the waves you have to go out often. Watch the light. When is it best for you? Which clouds are best for you? You don’t always want to have a clear sky. Colours become more intense when there are clouds in the sky. The sky can then become the star of your photo or at least add a lot to the drama.
Photo motifs, car light traces and aperture stars
The best photo motifs
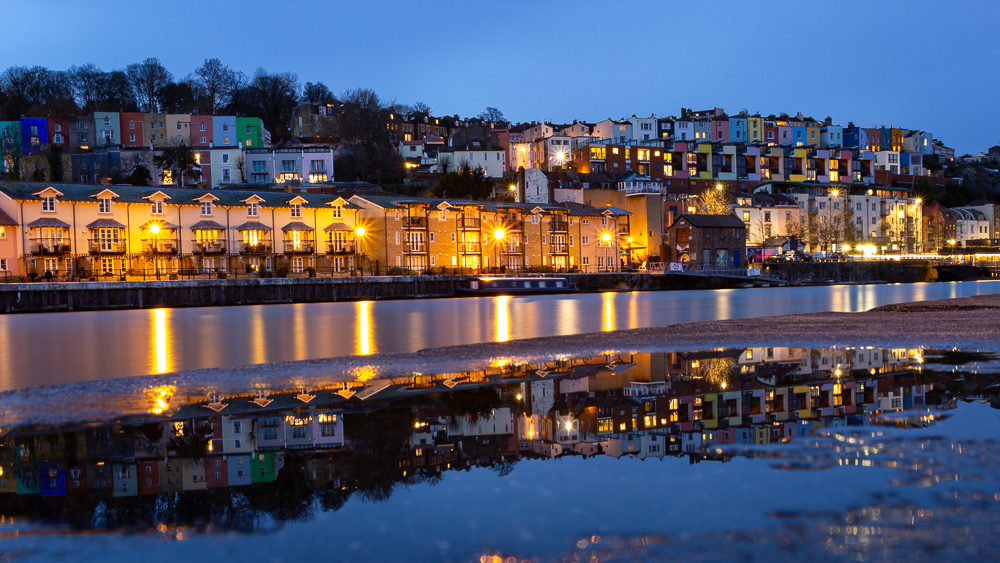
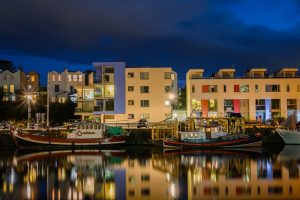
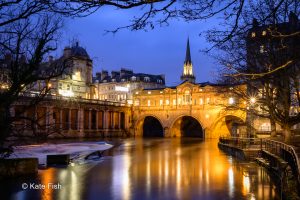
City views with beautifully illuminated buildings you will find great. But actually you can photograph everything at the blue hour. I can’t tell the most beautiful photo motifs at the blue hour, because I believe they do not exist.
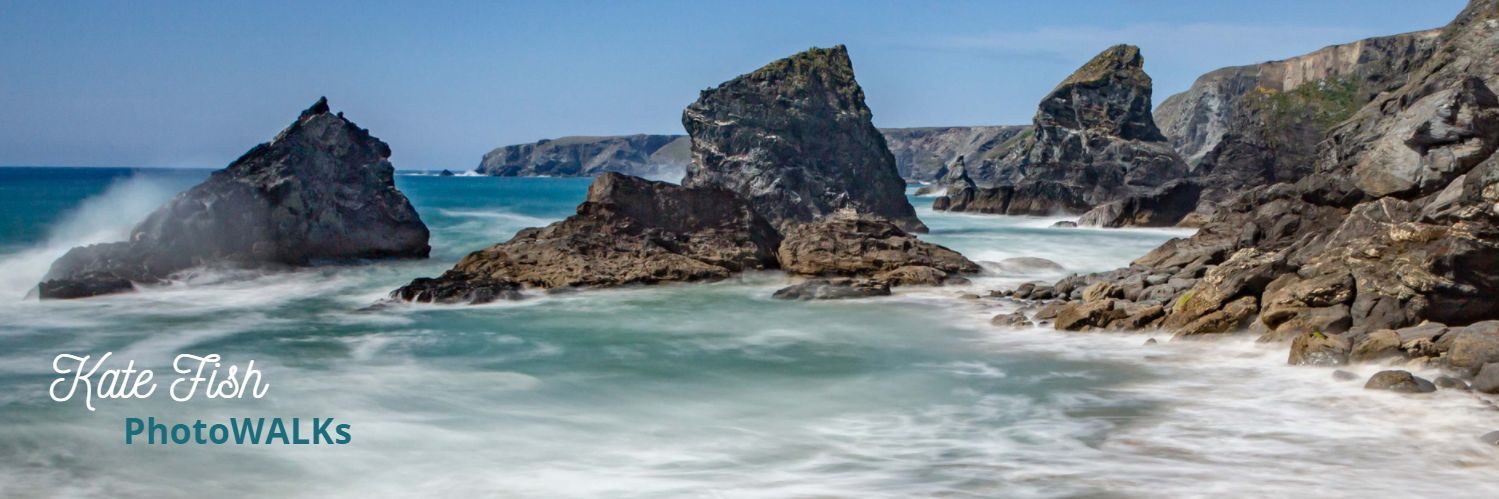
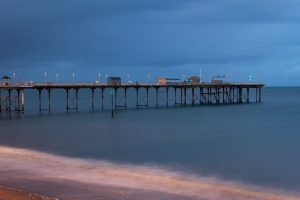
To go out into the landscape at the blue hour is a bit more daring, because then there is only this blue light. But you can take very nice blue hour photos on the beach without illuminated buildings. For me coastal views around Boscastle in Cornwall work equally as beautiful snowy mountains as motifs at the blue hour.
I would like to encourage you to go out at the blue hour to experience that special light yourself. Of course you can also come on one of my blue hour Photo WALKshops. Not only into the city, but also into the landscape. Then you are so in the middle of this blue. You are practically immersed in it. It comes at you from all sides. This experience is just great. Then find your best photo motif and capture this special atmosphere. You will be thrilled.
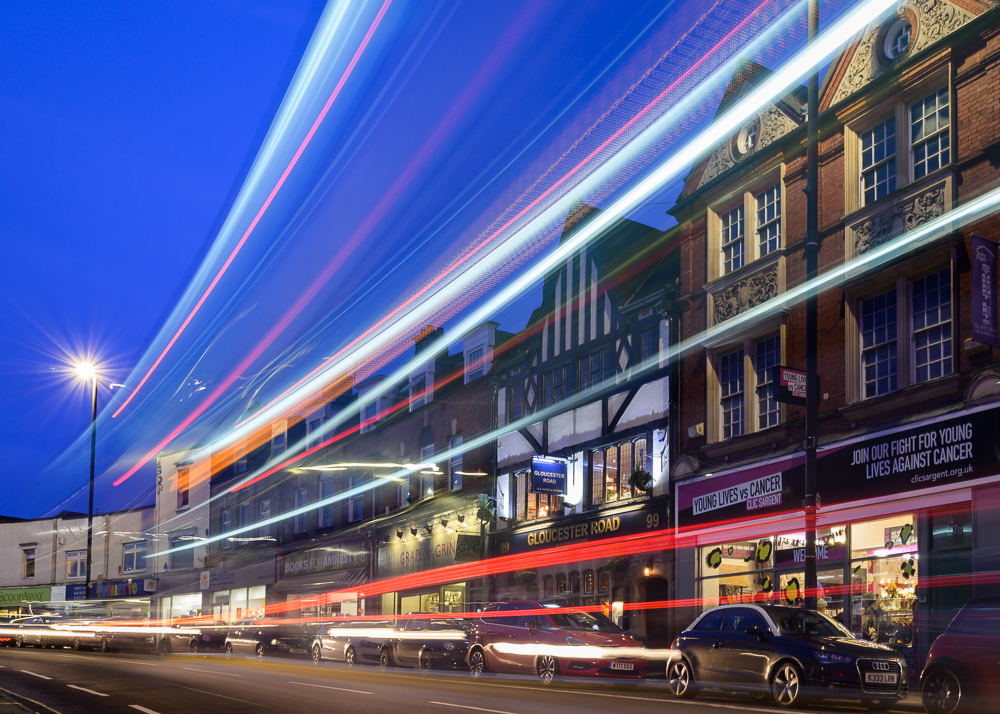
Car light traces
Car lights are blurred by the long exposure times to light trails. This is also a nice effect at the blue hour. Here it is worth experimenting with the exposure time. In manual mode, you can simply move it up or down by one, two seconds or even more. You can also try to take pictures lots of traffic to get nice continuous car light trails.
Aperture stars
You’ve probably already noticed the stars you find around point-shaped light sources in your photos. Of course, you can produce these so-called aperture stars not only at night, but also in your photos at the blue hour.
For this effect to be visible you need a closed aperture (= high f-stop). But you don’t want to stop down more than the maximum f-stop allowed for your camera to avoid diffraction blur.
Unfortunately, I don’t know what kind of camera you have. So here are the maximum allowed f-stop values for different camera types:
Full frame: f/22. APS-C: f/16 4/3-inch: f/11 Compact cameras: f/8
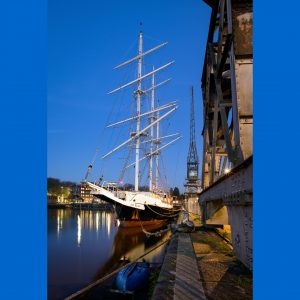
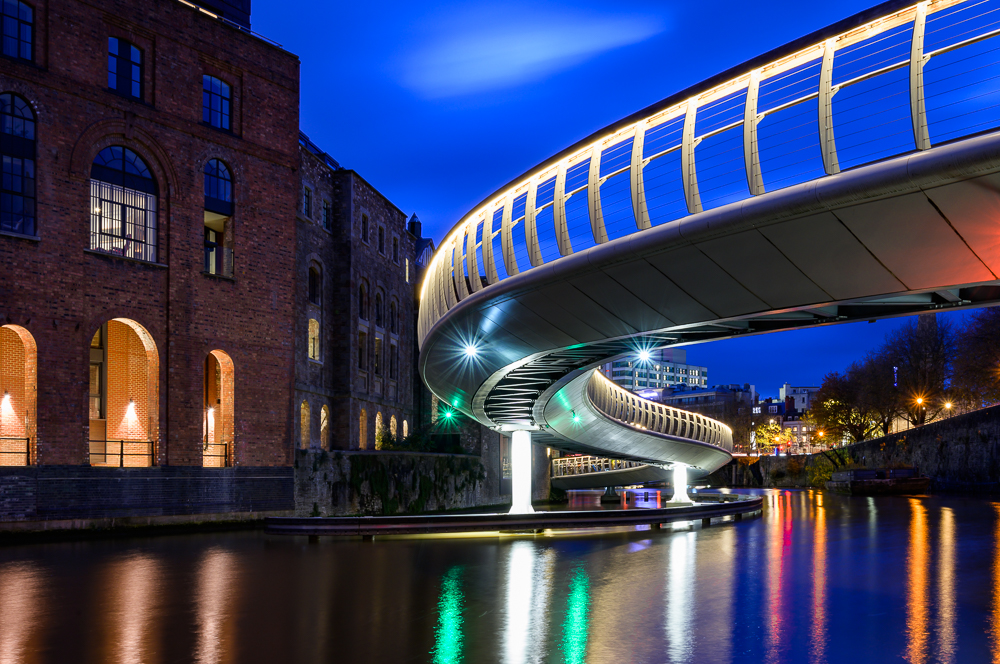
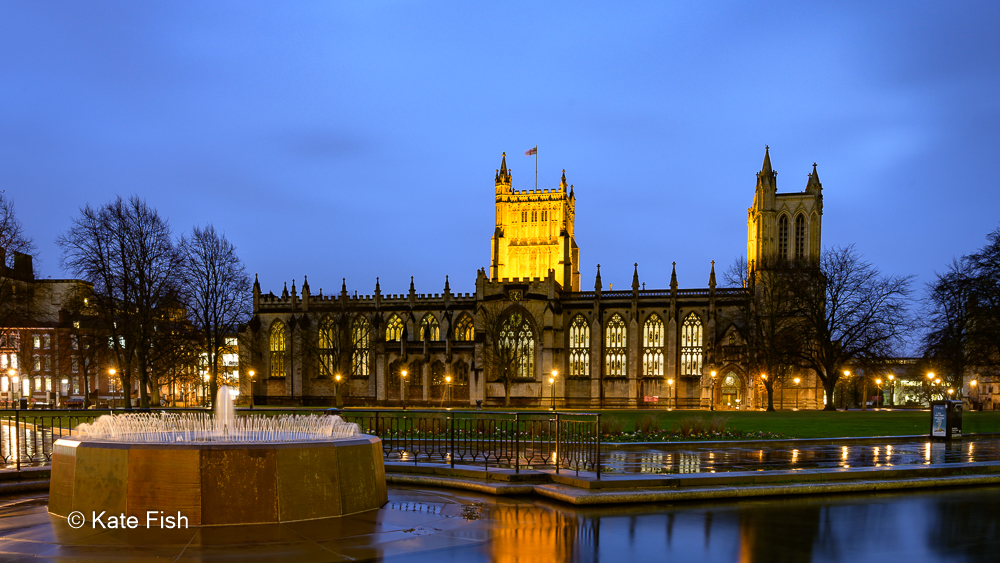
Castle bridge in Bristol: ISO 200, f14, 25s
Blue hour - camera settings
If you now want to take great photos in the blue hour, start with the following settings on your camera:
ISO
Set a low ISO (e.g. 100) and turn off the ISO automatic. Low ISO values give less image noise, but require longer exposure times, which, however, give us e.g. the beautiful light trails from cars.
Autofocus
When it’s bright enough, you can use the autofocus of your camera. However, towards the end of the blue hour it may already be too dark. Then use the autofocus to focus on a light source at the same distance as your subject. Now switch off the autofocus. Of course now you can no longer adjust the focal length of your camera without refocusing.
Aperture and shutter speed
Set your camera to aperture priority (A for Nikon, Av for Canon). An aperture of f/8-11 should be sufficient in the city. However, if you want to have beautiful aperture stars, consider also higher values (= closed aperture). If the exposure time remains below 30 seconds, just press the shutter now.
Exposure times longer than 30 seconds can not be set automatically by many cameras. Here you have to expose manually. Certainly, it is then useful to use a remote shutter release. Set the camera to “bulb” or “time” in the exposure times and adjust the exposure time manually. It’s a bit of trying out how long you really need to expose to get enough light on your sensor. This time also changes very fast during the blue hour.
Now you take a photo and check on the display whether it is sharp, correctly exposed and has beautiful aperture stars and light trails from car lights. If it doesn’t quite fit, you can easily adjust the exposure in aperture priority mode with the exposure compensation (+/- button). Manually you simply try a longer or shorter exposure time.
I wish you lots of fun taking pictures at the blue hour and many great photos. May I can show you even more at any of my blue hour Photo WALKshops. If you have any questions or suggestions, please write them in the comments below.
Die Kate
Sei der Erste, der diesen Beitrag mit Freunden teilt.