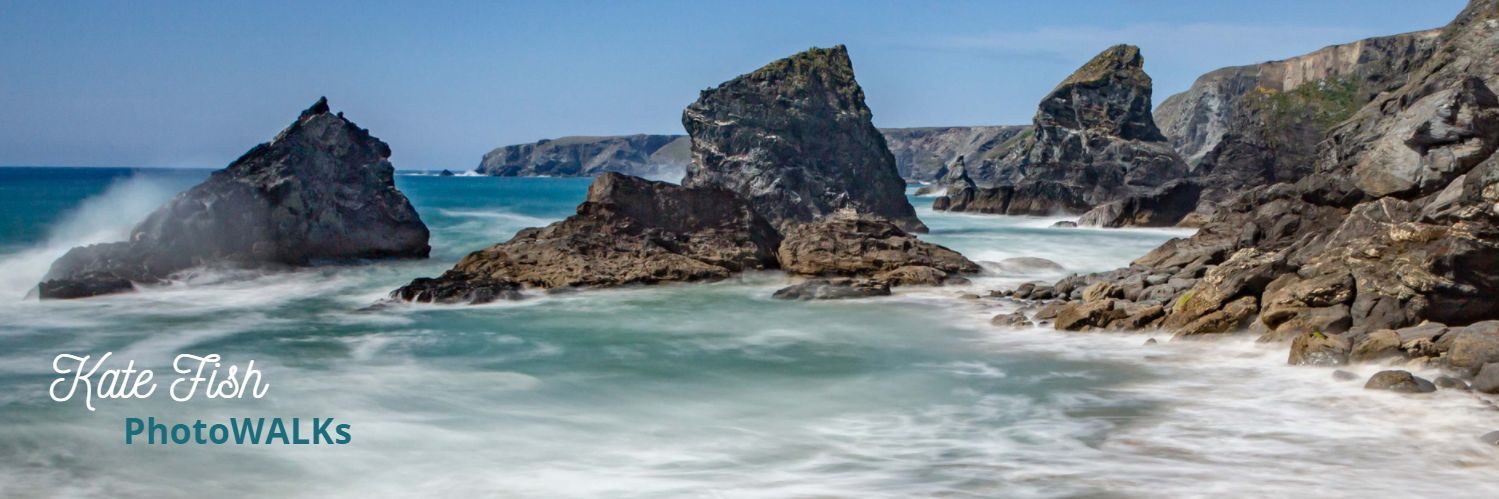
Winter without snow isn’t the same. Unfortunately, there isn’t much of it in the UK anyway. Therefore, you have to find your opportunities to take winter images elsewhere. Maybe you are one of those people who go skiing in areas guaranteed to have snow in winter.
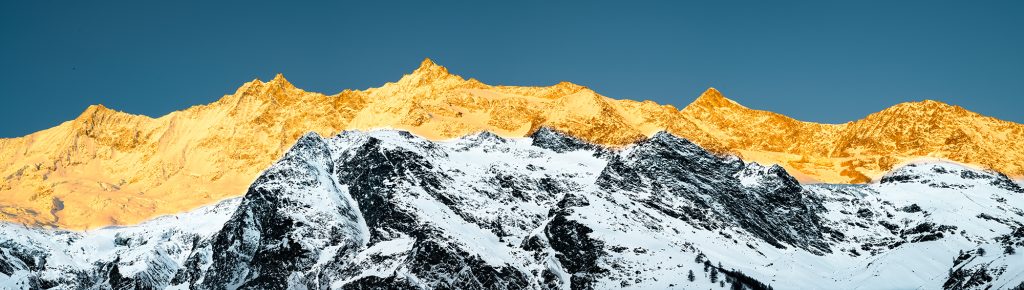
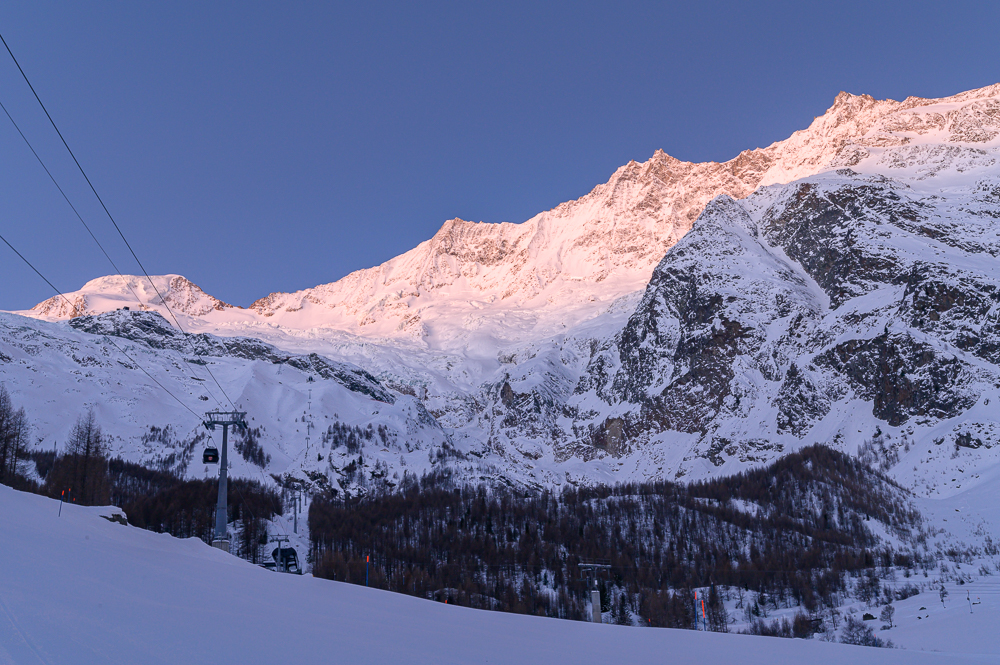
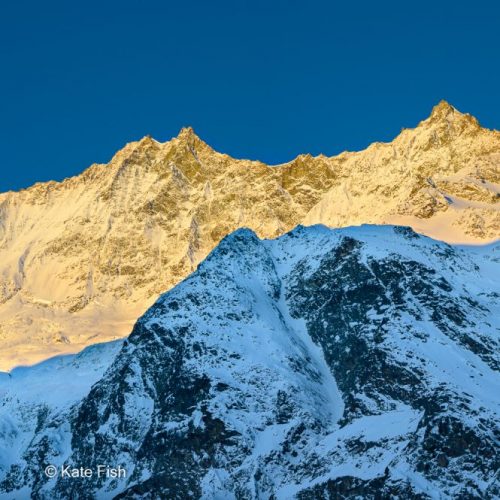
I decided to go to Saas-Fee (Switzerland) over New Year’s Eve and take pictures of the beautiful winter landscape. I had chosen a classic skiing area in the Alps. In preparation, of course, I had looked at photos of the Alpine-glow in the mountains.
In the snow and in the cold, you need a little more than usual to enjoy photography and to come home with great winter images. The 3 aspects to consider are 1. How to deal best with the cold conditions for you and your camera; 2. How camera settings need to be adjusted in the snow and 3. best choice of motifs.
1. Cold conditions – your gear
Protecting your gear
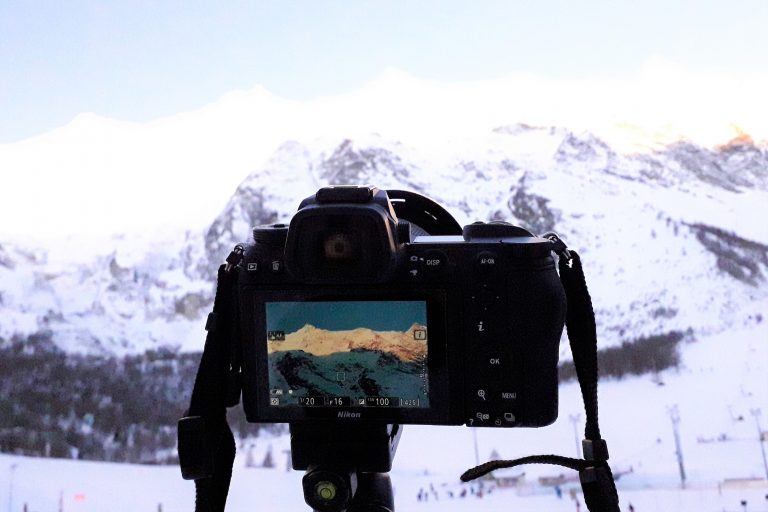
You want to adjust your camera slowly to the cold temperatures, if possible. Maybe you have an entrance hall to your house or a garage? Put the camera there for some time. In my case, however, the way from the accommodation to the photo location with the well-packed camera is often enough. When you come home, adjust the camera slowly to the warmth again, so that no condensation water forms on the lens or, even worse, in the camera.
You probably have a spare battery for your camera. You will need one in winter at the latest, as the energy output decreases more quickly in the cold. Carry the spare battery as close to your body as possible, perhaps in your trouser pocket, so that it stays warm.
Carry a simple transparent bag to protect your camera from unexpected snow flurries. It still allows you to change settings. Snow flurries in themselve can be a great motif or background for winter images.
Caution: The snow can freeze on your tripod (already happened to me) and the metal is extremely cold on your hands. Make sure you have a neoprene cover on at least one of the legs when buying. Wear gloves when setting up and taking down the tripod. A thin cloth is helpful to rub frozen twist locks or snap locks back into working order.
Useful accessories for taking winter images
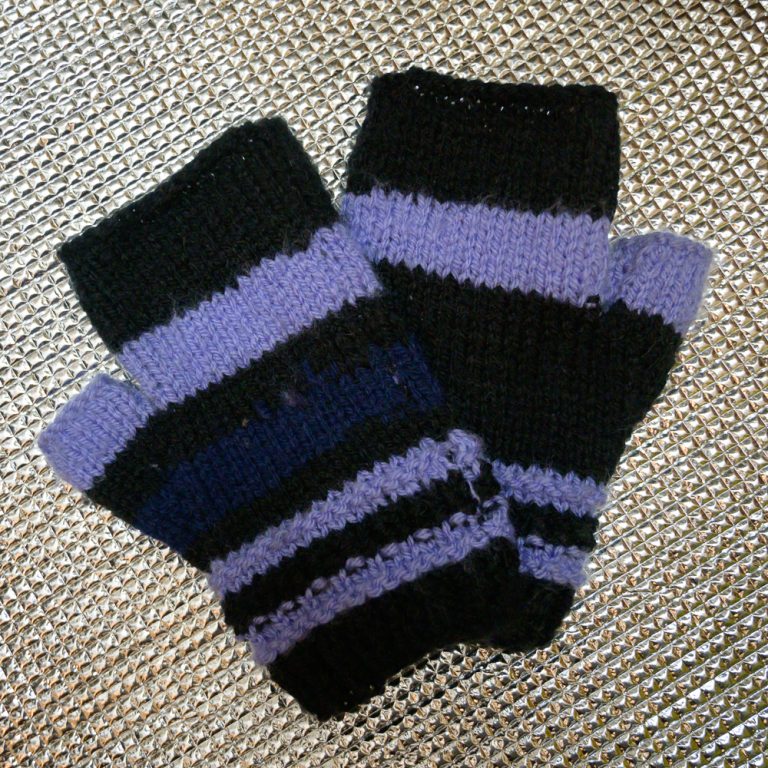
You want gloves with at least thumb and index finger free, so that you can operate the camera well. Some photographers simply cut off a piece of their gloves, but you can also buy gloves with half fingers or have friends like me who crochet you a well-fitting pair. However, a pair of really warm mittens on you are worth their weight in gold and even allow you to operate a remote shutter release when everything is set.
The best way to keep yourself warm for a long time is to use the onion principle. For the way to the photo location 1-2 layers of clothing less, otherwise you sweat quickly. When taking photos and you don’t move much, put a fleece pullover as an extra layer on. In really cold conditions I wear merino wool underwear, an outdoor t-shirt with long arms, a fleece pullover, warm boots with thermal soles and a ski jacket with 2 layers.
2. Photographing winter landscapes -
Camera settings
Your camera has two problems in the snow.
Getting the colour of the snow right. On a cloudy winter’s day, when the white of the snow in your picture predominates, it tends to expose too short and the snow appears gray. It simply confuses bright areas with lots of light. On the other hand, the snow reflects the light of its surroundings. When the sky is bright blue, the snow appears bluish, especially in the shadows, and at sunset/sunrise it appears reddish.
Your camera is often also overwhelmed by the high contrasts between white snow and black/dark brown trees.
You can solve the problems by:
Correct Exposure for winter images
You need slightly longer exposure than your camera calculates, if you want your snow bright white, but still see some texture in it. If you shoot in any other mode than “manual mode” then you want to use exposure compensation. A good starting value for this is between +0.3 and +1.5. You have to try and check it with the histogram, because the image quickly becomes too bright and the snow has now texture anymore. Your histogram should go to the far right, but not “climb the wall”.
Working with high contrast
Dynamic range extension, is the magic word here – with Nikon this is called “Active DLighting” (ADL), with Sony “Dynamic Range Opimization” (DRO), with Canon “Automatic Exposure Optimization” and with Fujifilm “Dynamic Range”. You can usually adjust the intensity levels. In general and always, not only when photographing winter images, I recommend to switch on this function with automatic intensity and only in extreme cases to change it.
Use the RAW format. It offers you more dynamic range, but you can’t avoid image processing anymore.
White balance
The question often arises whether the blueness in the snow is not simply part of it and you don’t have to change anything. Quite often I think so. Teaching your camera the right white balance manually on site takes far to much time for me.
Since I shoot RAW format and post-process my pictures in Lightroom, I can specifically make the colour tone a little warmer in the snow or in buildings. Here is a picture with a selective correction of the white balance. Filters in simpler editing programs often cause the sky to lose its blue and therefore I do not recommend them.
Weißabgleich nicht korrigiert
Weißabgleich in den Schatten in Richtung wärmer in Lightroom korrigiert
3. Great winter images - Finding motifs
With your eyes and heart open to the landscape around you, you will see lots of motifs. Set no limits to your creativity. Here are a few ideas:
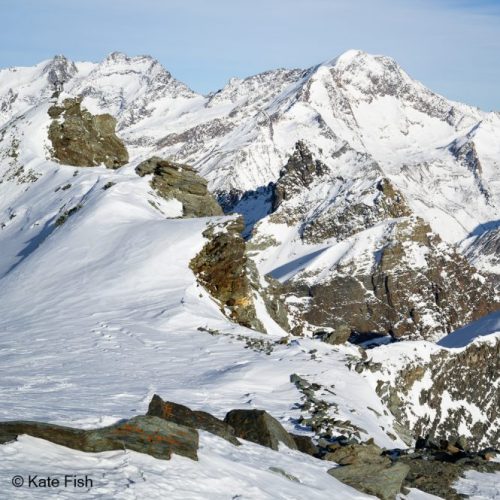
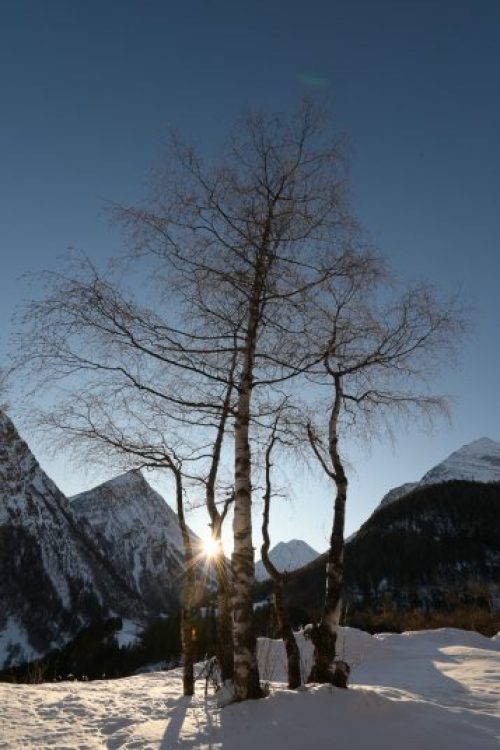
Landscape with focus on contrasts, e.g. pictures taken in the direction of the sun
Trees and their silhouettes in the snow
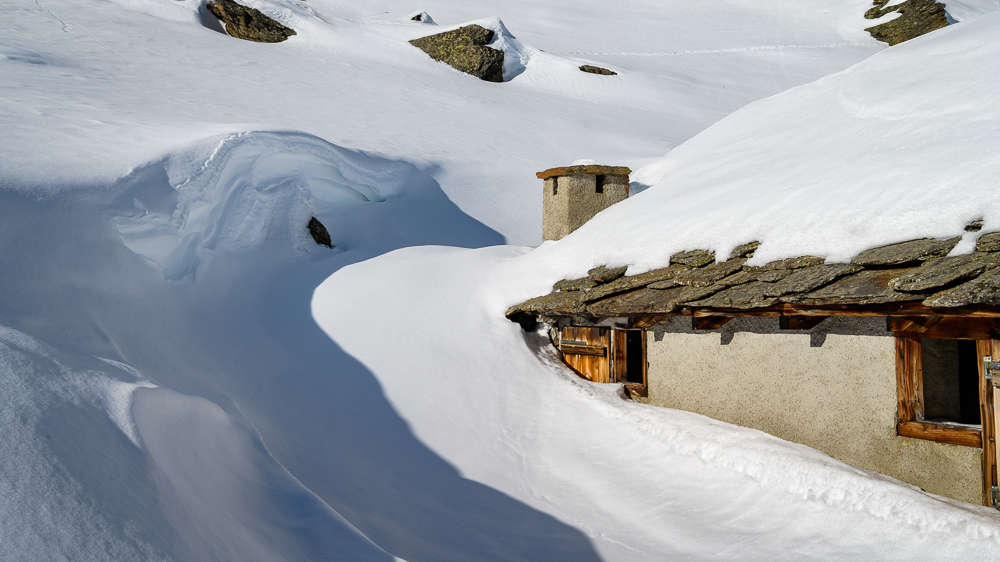
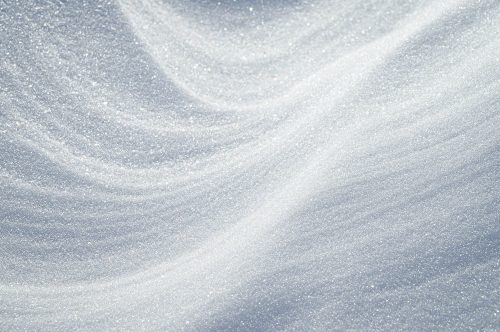
Structures in the snow
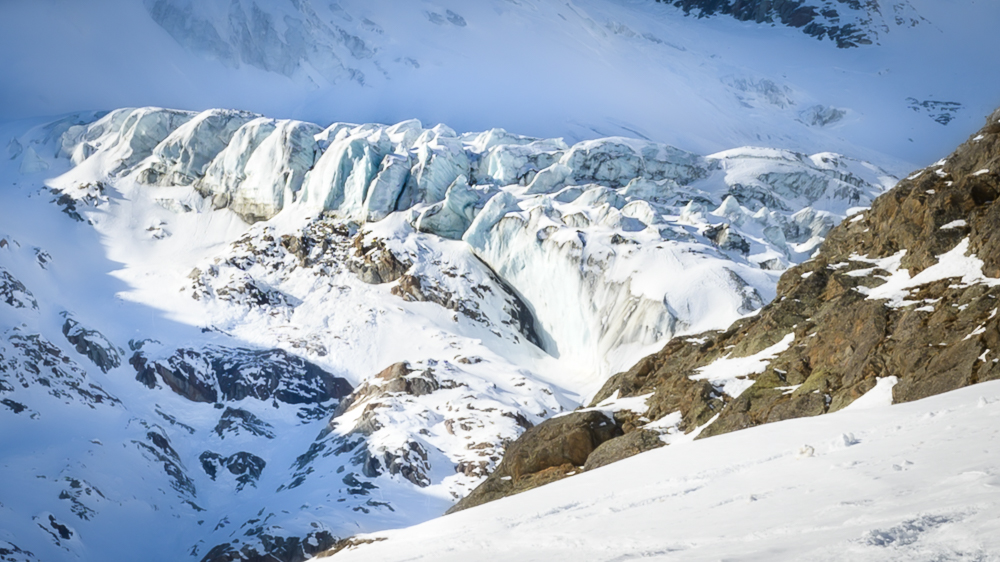
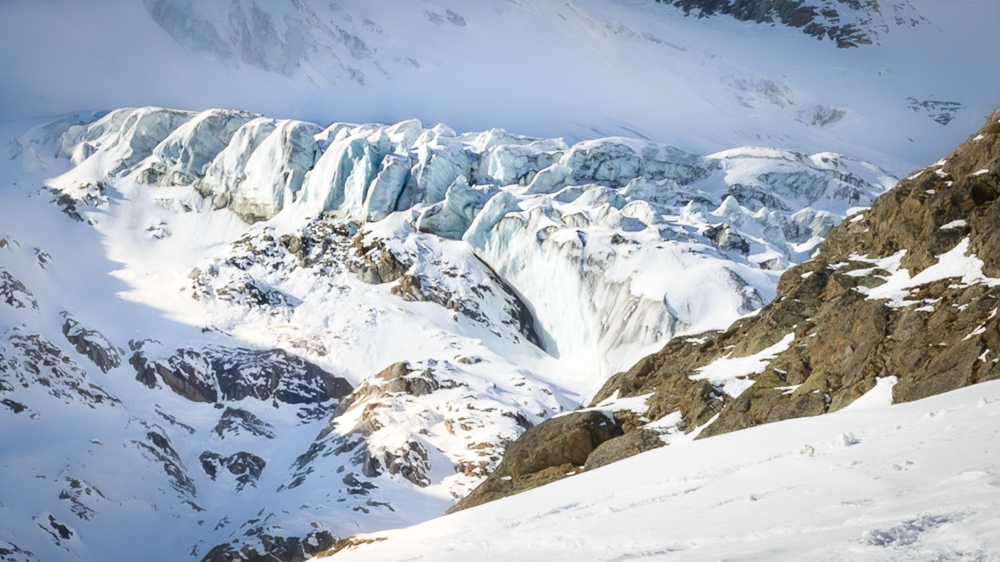
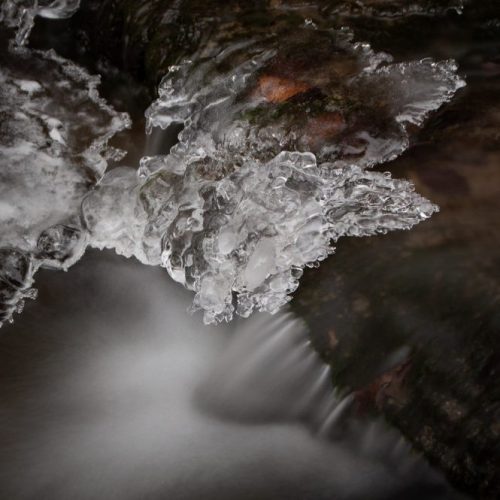
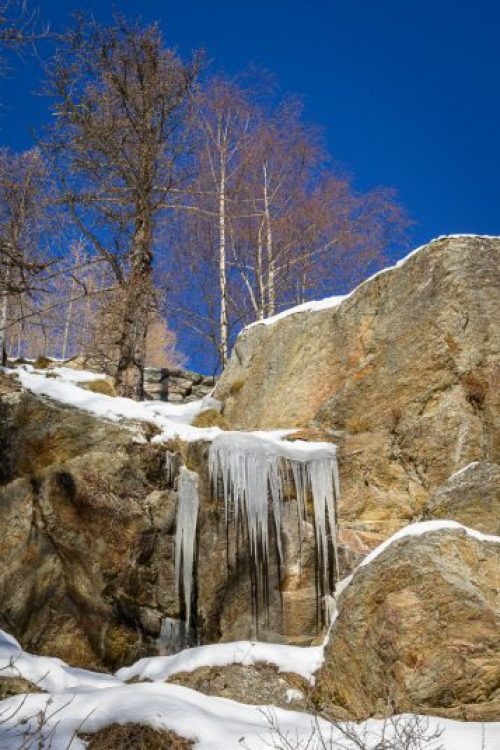
frozen waterfalls or ice on creeks/ streams/puddles/lakes (e.g. with long time exposures)
sunrise/sunset in snowy mountains
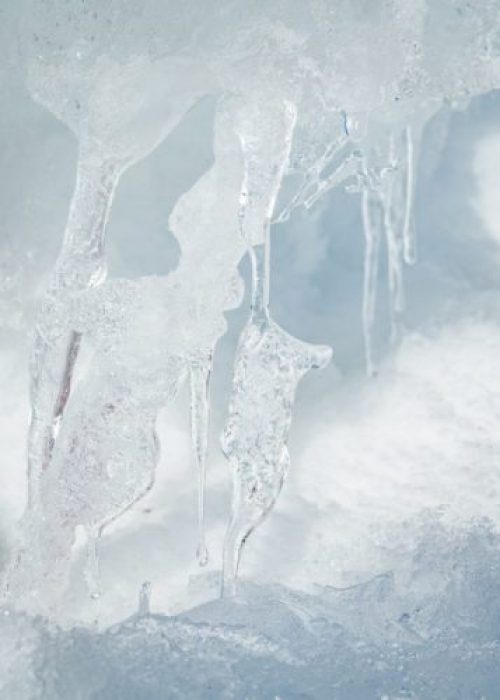
Macro photography of structures in ice, snowflakes or freezing soap bubbles